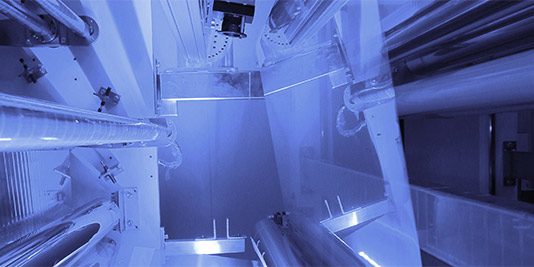
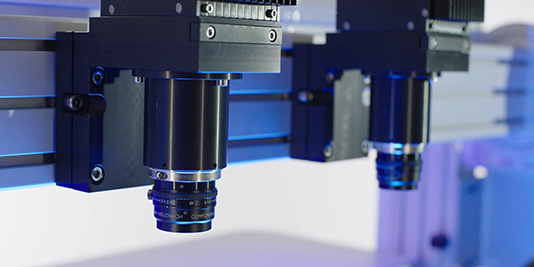
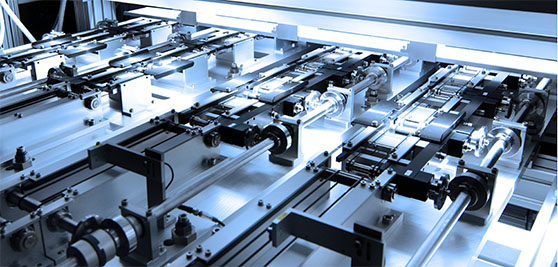
Viewing a defect with different illumination setups can reveal important information. When inspecting plastics for example some low-contrast defects are difficult to detect using visible light but can be easily detected using infrared light. The goal of the inspection is to determine whether a detected defect is critical or not. This distinction can only be made when all defects are detected and when they can be classified reliably. The high speed of modern plastic production processes poses a challenge – which MIDA easily matches using ultra-high speed multiplexing for illumination and multiple optical channels per camera.
When inspecting glass surfaces, MIDA gathers multiple images of one defect in a single scan pass. The combination of this defect information delivers complete information regarding the core size and distortion size of a detected defect. This is crucial in determining whether residue on the glass from the tin bath has affected the glass or whether it can simply be washed off. Only with the information from the distortion channel can a reliable distinction between critical and non-critical defects be made. MIDA’s superior detection capabilities ensures that bubbles, inclusions, tin defects, stones, knot lines or reams in glass do not go unnoticed.
How does MIDA work?
Dr. Schenk’s MIDA uses one scan line (saves valuable production space) one camera (saves money) and multiple illumination sources to provide extensive defect information. Only the combined evaluation from multiple sources leads to reliable defect classification, essential in order to optimize quality control and process control.
MIDA is heralding a change in inspection technology. It is superior to other inspection approaches and is an essential ingredient in optimizing process and quality control for better products and higher customer satisfaction.
For more information please see the brochure or contact our sales team.
 International
 Deutsch
 US
US 中文
中文 日本語
日本語